Find the FPS Toolkit Lite asset. Click “Create Project”.
If you are using the FPS Toolkit Lite project as base for your project, please skip these steps.
After creating the project, select the project and open it.
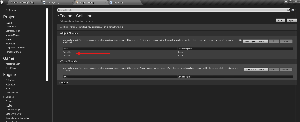
Prior to migrating FPS Toolkit Lite to your project, it is recommended that you create the following object channels in your project settings:
- Projectile
- Grenade
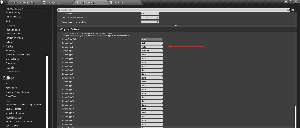
You will also need to add the following physical surfaces (You can add as many types you may need):
- Body
- Water
- Concrete
Next step is to right click on the FPS Toolkit Lite folder in the asset browser. Find and select “Migrate”.
Select all folders. Ensure these have a check box and NOT a minus sign. If they have a minus sign that means that not all folders have been selected.
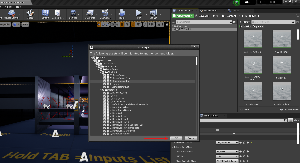
Navigate to the project that you wish to migrate the system to and select the content folder of that project.
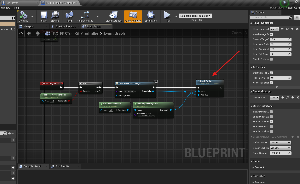
Once FPS Toolkit Lite is migrated to your project folder, open your base character and add the AC_FPS_ToolKit component with all necessary events and input actions to it. You can copy them from the BP_Player event graph.
Finally, set PC_FPSToolKit_Controller as your Player controller or set GM_FPSToolkit in the World settings.
If your project has its own player controller, just copy all the events from PC_FPSToolKit_Controller and add it to yours or you can set one of them as a parent to the other.