The motion matching node is the runtime aspect of Motion Symphony’s motion matching workflow. It is an ‘AnimationAssetPlayer’ just like a BlendSpace or SequencePlayer but with a lot more power and a lot more potential.
While it is not recommended, it is possible to create a complete character locomotion animation graph with just a single ‘Motion Matching Node’.
Initial Setup
Provided you have followed previous steps in this manual to create a ‘MotionData’ asset and generated Input Response Data, the Motion Matching node can be setup as follows:
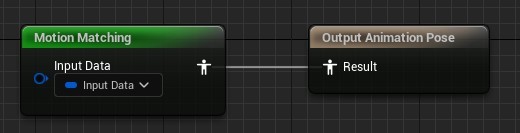
Step 1: Create the node by right clicking in your animation graph and searching for ‘Motion Symphony’. Choose the ‘Motion Matching’ option from the ‘Motion Symphony’ category.

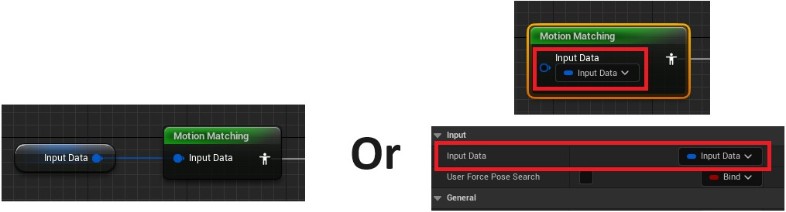
Step 2: Connect your trajectory variable as the primary input for the motion matching node or bind it in the details panel:
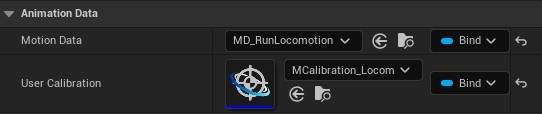
Step 3: Set the ‘Motion Data’ to be used with this node under the ‘Animation Data’ heading. This is the Motion Data asset created earlier in the process.

Step 4 (OPTIONAL): Set the user Calibration Data under the ‘Animation Data’ heading.
The default settings for the rest of the node should be sufficient to get started. Please see subsequent pages for more details on motion matching node features.
Note: Don’t forget to add your ‘Motion Snapshot’ node to the graph to assist with pose matching. Motion Snapshot Node